Creating a bootable Windows USB is now the fastest and most reliable way to install Windows — both Windows 10 and Windows 11. All you need is a USB drive of at least 8 GB, a Windows ISO image, and a tool like Rufus to make the USB bootable.
This guide walks you through every step, highlights common pitfalls, and recommends alternative tools if Rufus isn’t your cup of tea. It’s written so even beginners can follow along.
What you need
🧩 USB drive (8 GB or larger)
🧩 Windows ISO (via Microsoft’s official Media Creation Tool or direct ISO download)
🧩 A tool to make the USB bootable — Rufus is the default choice
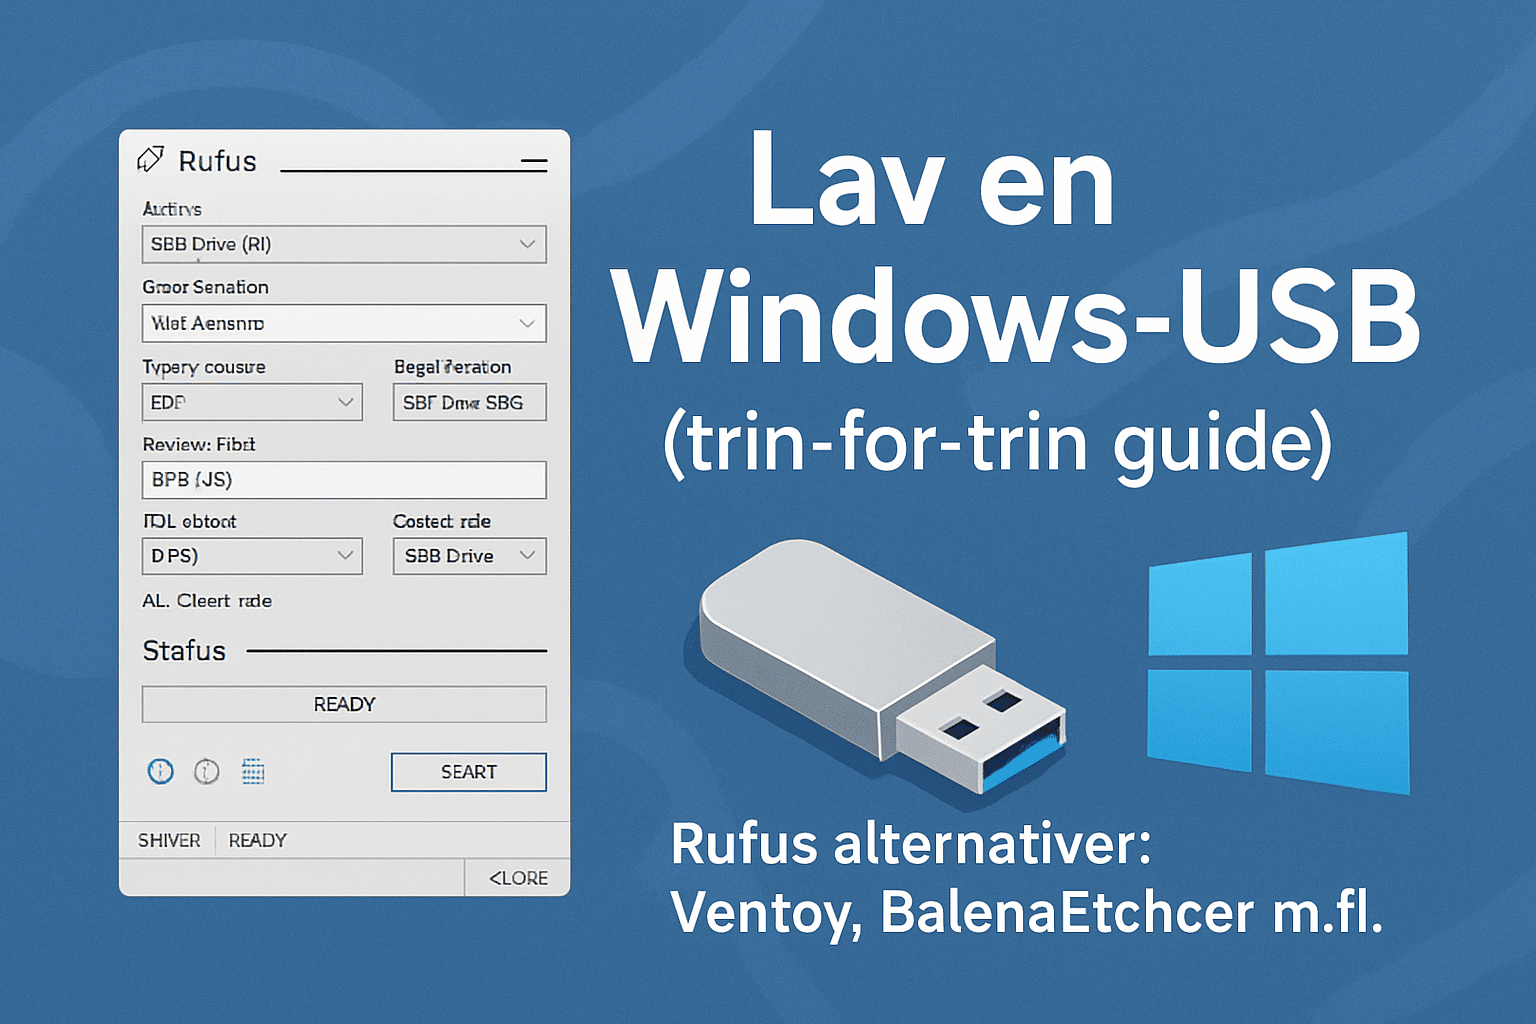
How to create a Windows USB with Rufus – step by step
This is the most stable and widely used method. Rufus is extremely fast and works on almost all PCs.
1. Launch Rufus and select your USB drive
When Rufus opens, registrerer programmet automatically detects USB devices connected to your PC.
Under "Device," choose your USB drive. If you have more than one USB connected, double‑check the name — it’s easy to pick the wrong one.
2. Choose the Windows ISO
Click "Select" and browse to your Windows ISO. You can use:
– ISO file from Microsoft
– ISO from the Media Creation Tool
– Customized Windows builds (e.g., for older PCs)
Rufus analyzes the ISO and automatically picks appropriate settings.
3. Partition scheme and target system
This is where many people go wrong.
💡 Choose GUID + UEFI if you’re installing Windows on modern hardware.
💡 Choose MBR + BIOS/UEFI if you’re installing on an older system.
If in doubt, use GUID (UEFI). It works on most PCs made after 2015.
4. File system and labeling
– The file system should usually be NTFS (for large ISOs).
– You can ignore the Volume Label or name it something like WindowsUSB.
Rufus provides optimal defaults, so you can usually leave these fields as they are.
5. Click Start – and wait
The process typically takes 2–5 minutes.
👉 When Rufus finishes, your USB is ready to use.
👉 All that’s left is to boot from the USB.
How to boot from USB
Most PCs use one of these keys:
– F12 (Dell, Lenovo)
– F10 (HP)
– F8 (ASUS)
– ESC (Acer + many others)
When the USB appears in the list, select it and the Windows setup will start.
Tip: If the PC ignores the USB, temporarily disable "Secure Boot" in the BIOS.
Rufus alternatives: Ventoy, BalenaEtcher and more
Rufus is best for Windows installations… but not always. Here are the top alternatives — and when you should consider them.
Ventoy – perfect if you use many ISOs
1 is brilliant: You install Ventoy on the USB once — then you can just copy ISO files directly to the USB. No need to recreate a boot USB each time.
Pros:
– Multiple ISOs on a single USB
– Works with Windows, Linux, and utility ISOs
– Very fast workflow
Best for: Technicians, testers, IT pros, dual‑boot, etc.
BalenaEtcher – the most user‑friendly
BalenaEtcher is simple, polished, and extremely nemt at forstå.
Pros:
– Works on Windows, Mac, and Linux
– Perfect for Linux ISOs
– Minimal interface, no confusion
Limitation: Not quite as capable for advanced Windows installs as Rufus.
Windows Media Creation Tool – Microsoft’s own solution
MCT is an all‑in‑one tool that downloads and creates the USB in one go. It’s foolproof, but not flexible.
Best for: Beginners and standard Windows 10/11 installations.
WinSetupFromUSB – when you want to tinker
A tool packed with features, multi‑ISO, and advanced boot options.
Best for: IT pros and enthusiasts who want full control.
Top 5 tips for the perfect Windows USB
Always use USB 3.0 for faster installs
Older USB 2.0 drives can be extremely slow — up to 5× slower.
Download the ISO directly from Microsoft
Security and stability should always come first.
Use GPT/UEFI if your PC supports it
It delivers faster boot times and fewer errors.
Avoid hubs – plug the USB directly into the PC’s ports
Hubs can cause instability during flashing.
Test the USB on another PC if installation fails
This quickly reveals whether the USB or the computer is at fault.
Why Rufus is still the best option for most
Rufus combines speed, compatibility, and advanced options in one tool. While Ventoy is great for many ISOs, Etcher is simple, and MCT is official, Rufus is the most complete solution in practice — especially for Windows 10 and 11. Its low error rate and high speed mean even older PCs rarely cause problems.
If you work with Windows installations — at any level — Rufus is the obvious choice.